Learning how to roll a joint that burns slow and smooth is a timeless skill. It transforms a good session into a great one. The secret isn’t some complex finger magic—it’s preparation. Think of it like a chef prepping their ingredients. A few moments spent setting up your station guarantees a smoother, more enjoyable process from start to finish.
Gather Your Tools: The Foundation of a Flawless Roll
First, find a clean, flat surface. A dedicated rolling tray is a game-changer, but a book or a clean plate will absolutely do the trick. This simple action prevents waste and makes cleanup instant. You only need four key items, but choosing quality for each one makes a massive difference in your final product.
Here’s your practical, no-fuss checklist for rolling success.
Your Essential Rolling Supplies Checklist
I’ve built this simple checklist so you can grab everything you need before you start. Having these items ready isn’t just convenient—it’s the first step to a better joint.
| Item | Its Purpose & Impact | Actionable Tip |
|---|---|---|
| Cannabis Flower | This is the main event. | Freshness is non-negotiable. Dry, brittle flower burns too fast and taste harsh. Discover how to keep your stash perfect with the best cannabis storage containers. |
| A Quality Grinder | For a consistent, even burn. | Ditch the scissors. A good grinder creates a uniform, fluffy texture that is your #1 defense against “canoeing”—where one side burns faster than the other. |
| Rolling Papers | The vessel for your creation. | Papers are made from hemp, rice, and classic wood pulp. For a beginner, hemp papers are the most forgiving. They’re sturdy enough to handle a few mistakes. |
| A Filter or Crutch | The structural backbone. | This piece of stiff paper stops you from inhaling bits of flower, provides stability, and prevents the end from getting soggy and collapsing. You can buy pre-made tips or roll one from a business card. |
With these four essentials, you’re not just ready—you’re set up for success.
The goal here isn’t just to roll a joint; it’s to create one that burns perfectly. A consistent grind, a solid filter, and the right paper are the pillars of a slow, even smoke. Nail this, and the rest becomes intuitive.
It’s fascinating how different cultures have perfected this craft. In North America, we favor smaller, straightforward joints. Travel to Europe, and you’ll find larger, cone-shaped rolls, often mixed with tobacco. It’s a global tradition with countless local twists. Ultimately, choosing your gear isn’t about being fancy—it’s about making the process easier and the result better.
Mastering the Art of the Roll: A Practical Walkthrough
This is where the magic happens. Your station is prepped, and it’s time to transform that fluffy pile of flower into a perfectly crafted joint. Let’s break down the process with actionable techniques that separate a sloppy, disappointing joint from a firm, impressive one.
First, the grind. A great joint is built on a great foundation. If you haven’t already, use your grinder to break down the cannabis into an even, fluffy consistency. You’re not aiming for a fine powder—that chokes the airflow. You want small, uniform pieces. Getting this right is the single most effective way to prevent your joint from canoeing.
This visual guide breaks down how each piece of the puzzle fits together, from prep to the final product.

As you can see, every element—the grinder, the paper, the filter—has a crucial role. Neglect one, and the entire structure suffers.
Building Your Joint From the Ground Up
Let’s begin with the filter, also known as a crutch or tip. Take your piece of stiff paper and make a few accordion folds at one end—picture a tiny “W” or “M.” Now, roll the remaining paper tightly around these folds. Just like that, you have a solid mouthpiece that adds structure and prevents any stray bits of flower from getting through.
Next, place that filter at one end of your rolling paper, ensuring the gum strip faces you along the top edge. Now, gently sprinkle your ground cannabis into the paper’s crease. Distribute it evenly from the filter to the other end. For a pro-level burn, try shaping it a bit—slightly thinner by the filter and fatter toward the tip. This cone shape almost always burns more smoothly.
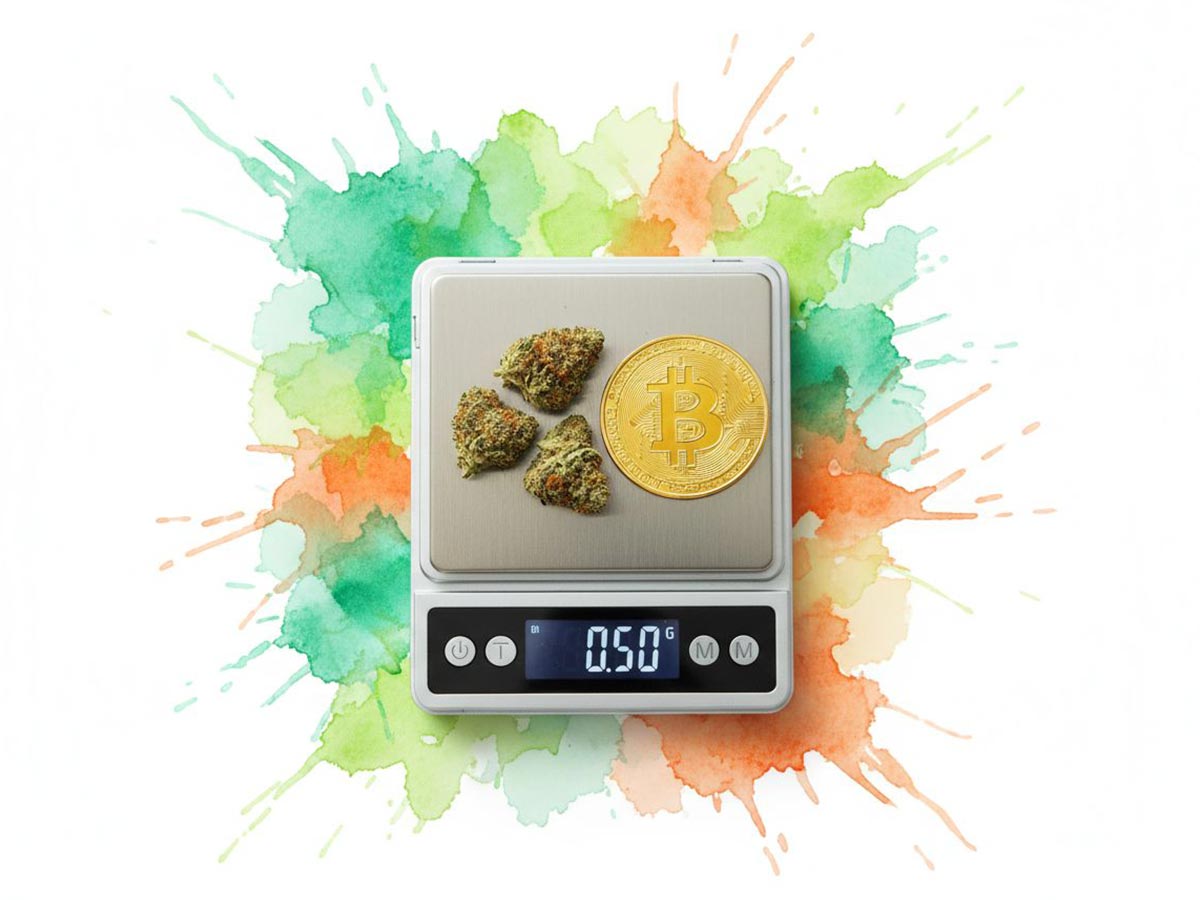
A typical joint holds about 0.32 grams of cannabis, but this can vary. A proper roll doesn’t just look better; it guarantees an even burn and maximizes the value of your material. Curious about the science? You can discover more insights about how THC content is measured and how your roll impacts the experience.
The Tuck and Roll: Where Skill Meets Finesse
This is the moment of truth—the “tuck and roll” that separates the novice from the master.
Grip the paper with your thumbs and index fingers. Gently roll it back and forth, feeling the cannabis compress into a firm cylinder. This pre-shaping step is crucial. You’re not just rolling; you’re compacting the flower into the perfect shape before you tuck.
Once it feels compact, it’s time to tuck. Using your thumbs, press the unglued edge of the paper down and around the cannabis, tucking it snugly behind the flower and up against the filter.
Think of it like making a bed with crisp, hotel-style corners. That first tuck needs to be clean and tight. This single motion provides the structural integrity that keeps your joint from falling apart.
With the front edge securely tucked, continue rolling upwards until only the gummed strip is exposed. Lightly moisten the strip (don’t soak it) and press it down to seal the deal. For a final professional touch, use a pen to pack the cannabis down from the open end gently, then twist the tip to close it off.
Troubleshooting: How to Fix Common Rolling Mistakes
Don’t be discouraged if your first few joints are a little wonky. Lopsided, loose, or canoeing joints are a rite of passage for every roller. The key is to see these attempts not as failures, but as practical lessons. Let’s diagnose the most common problems and give you actionable solutions.
From Frustration to Flawless Rolls
The most infamous issue is the dreaded “canoe”—where one side burns much faster than the other. It’s wasteful, tastes harsh, and kills the experience. This is almost always caused by two culprits: an uneven grind or an inconsistent pack.
If your grind contains both large chunks and fine powder, the different densities will burn at different rates. Similarly, if you have air pockets in your roll, they act like a blowtorch on one side.
Another classic mistake is a joint that’s rolled too loosely. It feels flimsy, burns up in seconds, and threatens to fall apart. This is a direct result of a weak tuck and roll. If that initial tuck isn’t snug against the flower, the entire structure will be compromised. The fix is simple: before you even try to tuck, use your thumbs to roll the paper back and forth to compact the flower into a dense, even cylinder.
Pro Tip: Before you seal the joint, give it a gentle massage between your fingers. This small action helps distribute the flower evenly and eliminates any hidden air pockets—your best defense against canoeing.
On the other hand, a joint that’s packed too tightly is just as frustrating. If drawing on it feels like sucking a thick milkshake through a coffee stirrer, you’ve overdone it. This happens when you get too aggressive with compacting the flower. A perfectly rolled joint should feel firm but have a slight spring when squeezed.
Even seasoned rollers make mistakes. Use this table as your diagnostic tool to fix any issue.
Common Rolling Problems and Their Solutions
| Problem | Likely Cause | The Fix |
|---|---|---|
| Canoeing (uneven burn) | Inconsistent grind or unevenly packed flower. | Use a grinder for a uniform texture. Spread the flower evenly before you begin rolling. |
| Too Loose (burns too fast) | The initial “tuck” wasn’t tight enough. | Apply firm, even pressure. Compact the flower by rolling it back and forth before the tuck. |
| Too Tight (no airflow) | Over-packing or tamping down too hard. | Aim for a firm yet spongy consistency. Pack the end gently, don’t force it. |
| Filter Falls Out | The paper wasn’t tucked tightly around the filter first. | Ensure the paper is snug against the filter before you roll the rest of the joint. The filter is your anchor. |
Perfecting your roll is a matter of practice and paying attention to these small details. For a deeper dive into the history and cultural significance of joints, Wikipedia has a surprisingly thorough article. Keep these practical fixes in mind, and you’ll quickly master the art of the perfect roll.
Ready to Level Up? Exploring Advanced Rolling Techniques
Once you’ve mastered the classic straight joint, an entire world of creative rolling opens up. This is where you transition from a roller into an artisan. These advanced styles aren’t just for show; they can dramatically alter the burn time, flavor, and overall experience of your session.
Think of these techniques as the next chapter in your rolling journey. Each one offers a unique benefit, from an exceptionally smooth draw to a burn that seems to last forever. This is how you start tailoring your roll for any occasion.
A Few Creative Rolls to Try Next
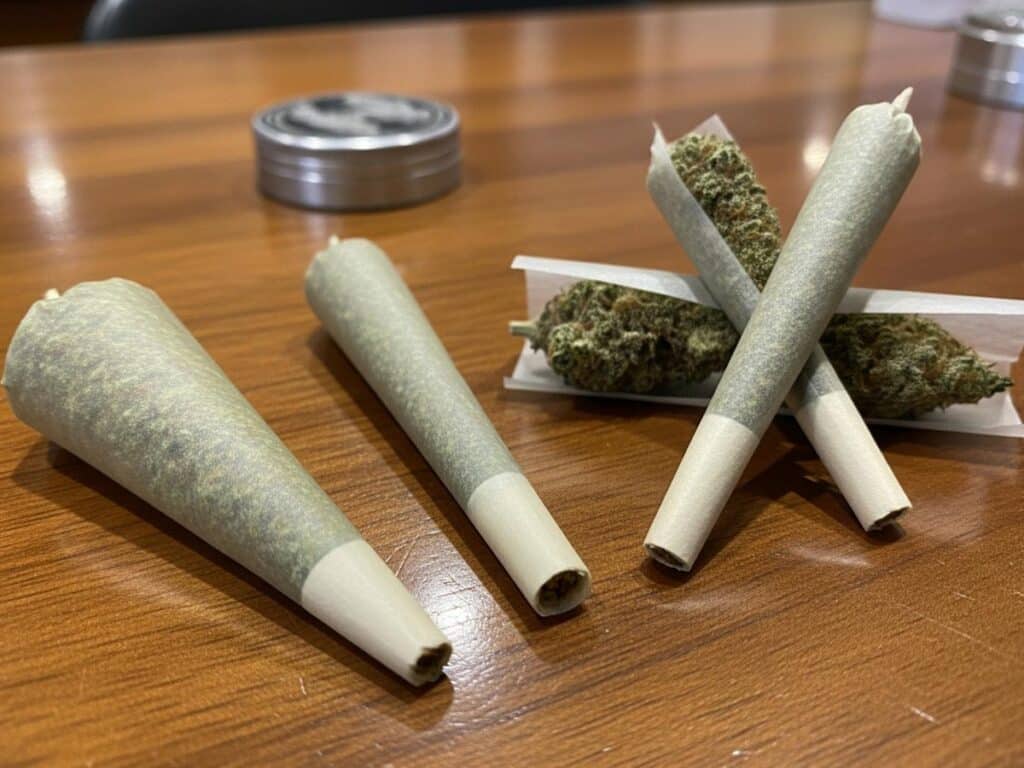
A practical and highly effective next step is the cone joint. Cones are wider at the tip and taper to the filter, producing a smoother, more flavorful smoke that evolves as you go. Many people find that once they nail the initial tuck, cones are actually easier to roll than a perfect cylinder.
From there, you can explore more artistic expressions:
- The L-Shape: A classic party move. You join two papers in an “L” shape to create an extra-long joint. It’s ideal for sharing, but sealing it correctly requires a steady hand.
- The Inside-Out Roll: Also known as a “backroll,” this is for the purist. You roll it with the gum strip on the outside, licking through the paper to seal it, then carefully burn off the excess. The result? Less paper taste and a cleaner, more pronounced flavor from your flower.
My Advice: Don’t jump straight to the most complex designs. Master the cone first. Its shape is foundational for many other creative styles, and its superior airflow makes it a favorite for a reason.
Exploring these methods is the most effective way to sharpen your skills. Of course, if you’d rather leave it to the professionals, you can always check out current pre-roll prices to see the incredible variety of styles crafted by experts.
Why a Good Roll Makes All the Difference
Learning how to roll a joint properly is more than just a party trick; it’s the key to a better cannabis experience. A well-crafted joint burns slowly and evenly, allowing you to appreciate the full flavor of your flower without the harshness or frustration of a poorly made one. It’s about achieving a smooth, consistent draw from the first light to the last.
This demand for a perfect, hassle-free experience is precisely why the pre-roll market is booming. Consumers value the quality and convenience of a professionally rolled joint. The data confirms it: between June 2023 and June 2024, the U.S. pre-roll market generated over $4.1 billion in revenue, a massive 11.89% increase from the previous year. You can explore the numbers yourself in this report on the explosive growth of the pre-roll market.
The takeaway is clear: rolling is a craft worth mastering. It improves with every attempt, transforming a simple task into a satisfying ritual that elevates the entire experience.
You now have the foundational knowledge to practice and roll with confidence. Every joint you create is another step toward perfection.
Still Have Questions About Rolling Joints?
Even with a detailed guide, learning a hands-on skill like this always brings up a few questions. That’s perfectly normal. Let’s tackle the most common uncertainties so you can start rolling with total confidence.
Common Questions and Clear, Actionable Answers
First, let’s talk about papers. With so many options, which should you choose? For anyone just starting, I always recommend hemp papers. They are slightly thicker and more durable than ultra-thin rice papers, which gives you more control during that crucial tuck-and-roll phase.
Next, people wonder if a filter (or crutch) is really necessary. While you can technically roll without one, it’s like building a house without a foundation. A filter provides essential structure, improves airflow, and, most importantly, prevents you from inhaling small bits of flower. It’s a small detail that delivers a massive upgrade.
Then there’s the big question: how much cannabis should you actually use? A standard joint typically contains 0.5 to 1 gram, but there are no strict rules. My practical advice for a beginner is to start with a smaller “pinner” joint using just 0.3 grams. This lets you perfect your technique without worrying about wasting your stash. For a more detailed breakdown, check out our guide on how many grams are typically in a joint.
What’s the easiest joint for a beginner to roll? Without a doubt, a classic straight joint with a filter. It is the most forgiving and straightforward style. Master this foundational technique before you even think about tackling cones or cross joints.
And what if you don’t have a grinder? No problem. You can break down your flower with your fingers or a small pair of scissors. The goal is to achieve a consistent, fluffy texture for an even burn. A grinder speeds up and standardizes the process.
Ready to find the perfect flower for your next roll? At Elevation HQ New York Cannabis Dispensary, we offer a curated selection of premium cannabis, from approachable strains for beginners to top-shelf options for the connoisseur. Visit us online to browse our menu and get it delivered right to your door.